

How to Install a Whirlpool Bath Properly
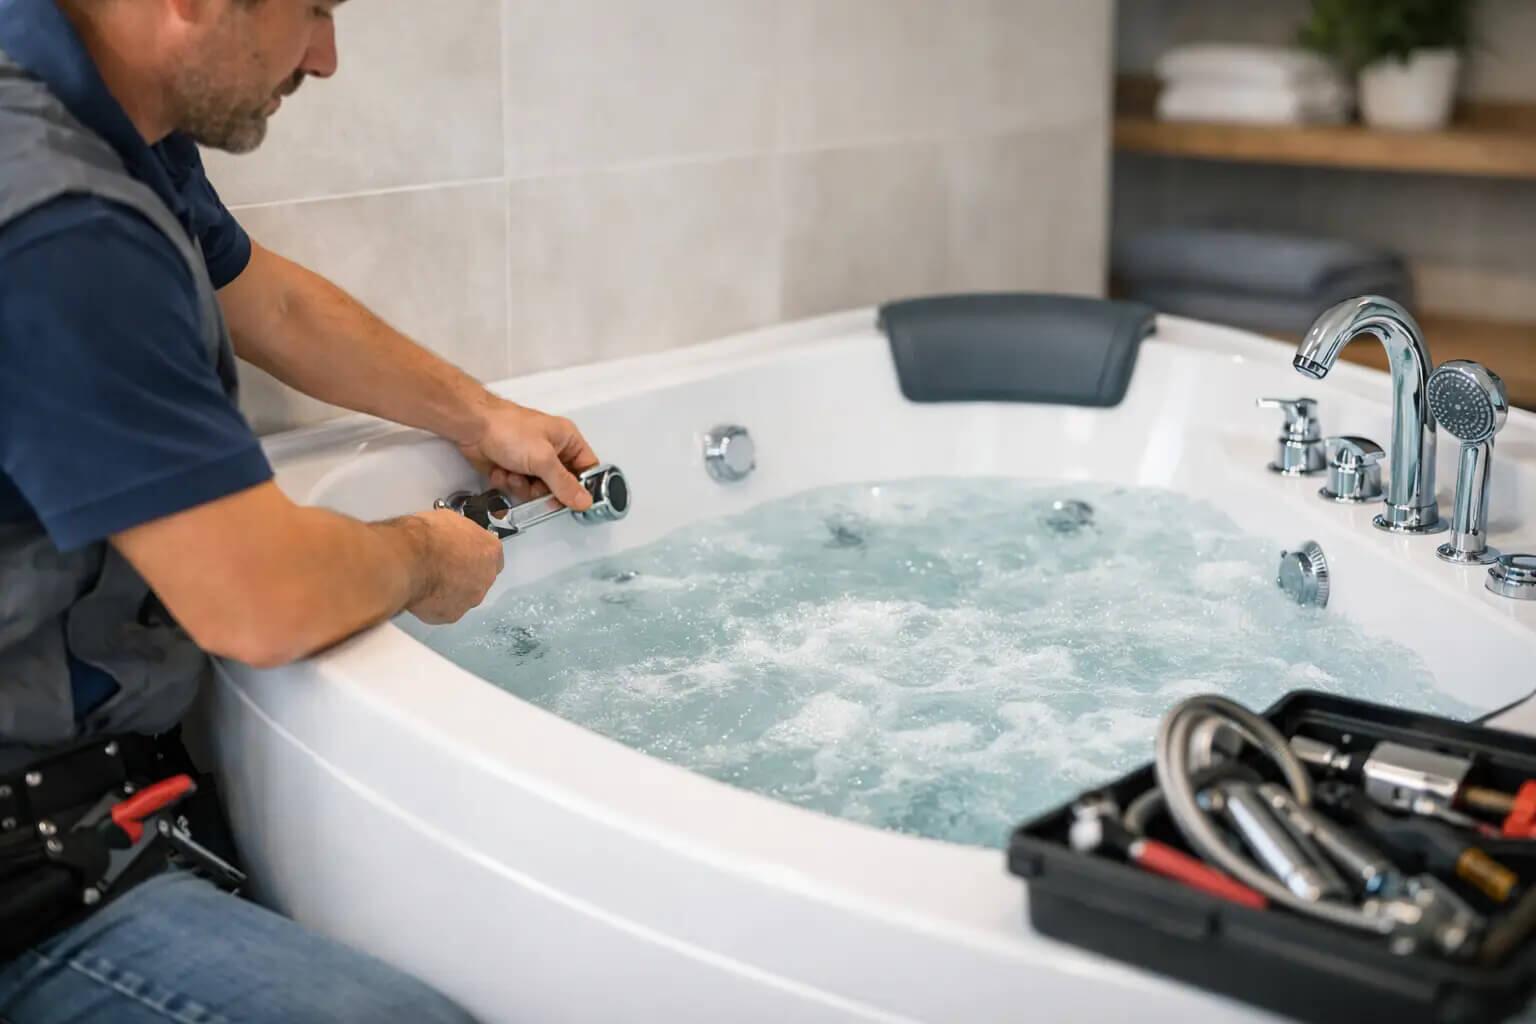
How to Install a Whirlpool Bath Properly
A whirlpool bath can transform an ordinary bathroom into the part of the house you look forward to most. However, when people ask how to install a whirlpool bath, the real question is usually this: can the room, the services and the bath all work together properly?
A whirlpool bath is not just a shell — it combines water, electrics, pipework and access requirements in one installation. This means fitting one is rarely a simple like-for-like replacement for a standard bath. In some bathrooms the existing layout makes installation fairly straightforward. In others, floor strength (particularly when fitting a whirlpool bath upstairs), pipe positions, access for servicing and electrical safety all change the job.
If you are planning a new spa-style bathroom, it pays to understand what is involved before the bath arrives.
Before you install a whirlpool bath
The first stage is checking suitability rather than reaching for tools. A whirlpool bath needs enough space not only for the bath itself, but also for the pump, pipework and any control systems. You also need practical access after installation. If everything is boxed in with no removable panel, even a small maintenance issue becomes far more awkward than it should be.
Start by confirming the bath dimensions, handed orientation if relevant, and the exact position of the waste, tap deck and motor components. Then compare that to your room layout. Waste pipe runs, hot and cold feeds, and the route for the electrical supply all need to line up sensibly. This is the stage where many expensive mistakes are avoided.
It is also worth checking the floor. A filled whirlpool bath, plus the person using it, is significantly heavier than an empty standard bath. This is especially important when installing a whirlpool bath upstairs. Verifying spa bath floor strength is a sensible precaution in older properties or any upstairs installation — consult a structural expert if you have any doubts.
Who should carry out the installation?
A confident homeowner may be able to manage parts of the job, especially preparation, measuring and finishing work. Even so, a whirlpool bath installation nearly always benefits from qualified trades. Plumbing and electrical work need to be carried out properly, and in the UK the electrical side in particular should not be treated casually.
Because the bath includes powered components, you will typically need a suitably qualified electrician as well as a bathroom fitter or plumber. Many homeowners choose to have the entire job handled by experienced installers so that the plumbing, electrics and panel fitting are coordinated from the outset. That tends to produce a cleaner result and fewer headaches later.
How to install a whirlpool bath step by step
The installation sequence varies slightly depending on the model, but the broad process is usually the same.
1. Prepare the room and services
Begin with a clear, level installation area. If you are replacing an old bath, remove it fully and inspect the surrounding walls, flooring and service connections. This is the time to deal with uneven floors, tired pipework or damaged finishes rather than trying to work around them.
Set out the waste location and make sure the fall on the waste pipe is sufficient for reliable drainage. Position hot and cold feeds where they can be connected without putting stress on pipework. If the bath has a front or side panel, plan that opening carefully so it remains removable.
The electrical supply should be planned before the bath is moved into place. Whirlpool baths require a safe, compliant connection — manufacturer instructions matter here, as control systems and pump arrangements can differ.
2. Check the bath before fitting
Before final installation, inspect the bath for any transit damage and confirm that all components are present. This includes panels, legs or frame, controls, waste fittings and any supplied fixings. It is much easier to resolve an issue while the bath is still accessible than after it has been secured and sealed.
Dry-positioning the bath in the room is a sensible move. It lets you confirm clearances, access to services and the final fit against walls. In a tighter bathroom, even a few millimetres can matter.
3. Fit the frame, legs and waste
Most whirlpool baths are supplied with a frame or adjustable leg set. Assemble and adjust this according to the product instructions, making sure the bath sits level and feels stable. A bath that is not properly supported can create strain on joints, affect drainage and lead to movement over time.
The waste and overflow are normally fitted before the bath is pushed fully into place. Seals should be seated cleanly and tightened correctly, but not overtightened.
4. Connect the plumbing
With the bath still accessible, connect the waste and water supplies. If taps are bath-mounted, these are often easier to fit before the bath is fixed in its final position. Wall-mounted taps may simplify deck space, but they need accurate first-fix planning.
At this stage, avoid trapping pipework or creating awkward bends. Good plumbing is not only about making the connections — it is about making sure those connections can be inspected, maintained and relied on over the long term.
5. Complete the electrical connection
This is the specialist part of the installation. The pump and controls must be connected in line with current regulations and the manufacturer’s instructions. In a bathroom environment, the details matter. Safe isolation, correct protection and suitable component placement are all essential.
A properly installed whirlpool bath should feel luxurious to use, not something you are second-guessing every time you switch it on.
6. Level, secure and seal the bath
Once all services are connected, move the bath into its final position and adjust it precisely level. This is one of the most important parts of the job. If the bath is slightly off, drainage can be poor and the finished lines against the walls may look uneven.
Secure the bath as required by the manufacturer, then fit the panel or surrounding framework while preserving access to the pump and associated components. After that, seal neatly where the bath meets the wall or tiled surfaces. A clean seal not only improves the finish but helps protect against water ingress behind the bath.
Testing matters more than most people expect
Once installed, the bath should be tested thoroughly before the area is considered finished. Fill it to the required level, check all joints for leaks, and run the whirlpool system long enough to confirm the jets, controls and pump are operating correctly.
This is also the point to check for vibration, unusual noise or poor drainage. A whirlpool bath will naturally sound different from a standard bath because of the pump, but it should not feel unstable or poorly fitted. Any fault is easier to correct before final decorating or flooring adjustments are completed.
Common mistakes when installing a whirlpool bath
The most common issue is poor planning around access. Homeowners understandably want a crisp, built-in look, but access panels are not optional decoration. If the pump or connections cannot be reached, routine servicing becomes difficult and future repairs can turn into a much larger job.
Another frequent problem is treating the installation like a standard bath replacement. A whirlpool model has additional technical requirements, and skipping those details can affect both performance and lifespan. Weak floor support, tight bends in pipework, badly positioned electrics and rushed sealing all tend to show up later rather than immediately.
There is also a design trade-off to think about. A fully tiled bath surround can look premium, but if it limits future access too severely, it may not be the best choice. In many bathrooms, the smartest installation is the one that balances a polished finish with practical maintenance.
Should you install one during a full renovation?
Usually, yes. If you are already upgrading the bathroom, that is the ideal time to fit a whirlpool bath. Plumbing routes can be adjusted properly, electrics can be planned from the start, and the overall layout can be designed around the bath rather than squeezed in afterwards.
That said, a retrofit is still possible in many homes. It just requires more care. Existing floor finishes, fixed pipe positions and room dimensions may narrow your product options, so measuring accurately and choosing the right bath model becomes even more important.
For homeowners aiming to create a more luxurious bathroom without stepping into fully bespoke design costs, this is where specialist advice is genuinely useful. The Spa Bath Co. focuses on this category for exactly that reason — choosing the right bath is only part of the decision; installing it properly is what makes the upgrade feel worth it every day.
Frequently Asked Questions
Can I install a whirlpool bath upstairs?
Yes, many homeowners successfully install whirlpool baths upstairs. However, a filled whirlpool bath is significantly heavier than a standard bath. It is essential to check spa bath floor strength, especially in older properties. If you have any doubts, have a structural assessment carried out before ordering.
Do I need a qualified electrician to install a whirlpool bath?
Yes. The pump and control systems require a safe, compliant electrical connection that meets current UK regulations. We strongly recommend using a qualified electrician in addition to an experienced bathroom fitter or plumber for the best and safest result.
How important is access for maintenance after fitting a whirlpool bath?
Access is critical. Always design the installation with removable panels so the pump, pipework and electrics remain reachable. Poor access for servicing is one of the most common and expensive mistakes made during whirlpool bath installations.
What is the most important stage when fitting a whirlpool bath?
Thorough preparation and final testing. Checking floor strength, planning all services correctly, dry-fitting the bath and running full tests after installation prevents the majority of problems that only appear weeks or months later.
Is it better to install a whirlpool bath during a full bathroom renovation?
In most cases, yes. A full renovation allows you to design the layout around the bath, route pipework and electrics optimally, and coordinate all trades from the start. Retrofits are possible but usually require more careful planning and may limit your choice of models.
Related Articles
Planning Your New Bathroom in 2026: Complete Guide & Trends
Everything you need to know before starting a bathroom renovation, including how to incorporate a whirlpool or spa bath successfully.
Read the full guide →Whirlpool Baths for a Better Bathroom
Discover how a whirlpool bath transforms daily routines and what to consider when choosing the right model for your space.
Read the article →Browse Our Full Range of Whirlpool Baths
Explore premium UK-made whirlpool and spa baths from leading brands. Free delivery on most orders.
Shop whirlpool baths →Ready to enjoy your own home spa?
Whether you’re planning a full renovation or upgrading an existing bathroom, our team at The Spa Bath Company can help you choose the perfect whirlpool bath and guide you on installation.
Or call us today on 01443 842 440 — we’re here to help.